The results of the drawing have been posted.
The results of the drawing have been posted.
Find out all the details about my next big project!
Sign up to be notified when registration opens.

Leave your creative resolutions here before January 1st, and enter to win collage goodies!
Sign up to be notified if/when registration begins for the 2016 class.
Get in on the fun! Pages must be postmarked by July 15th.
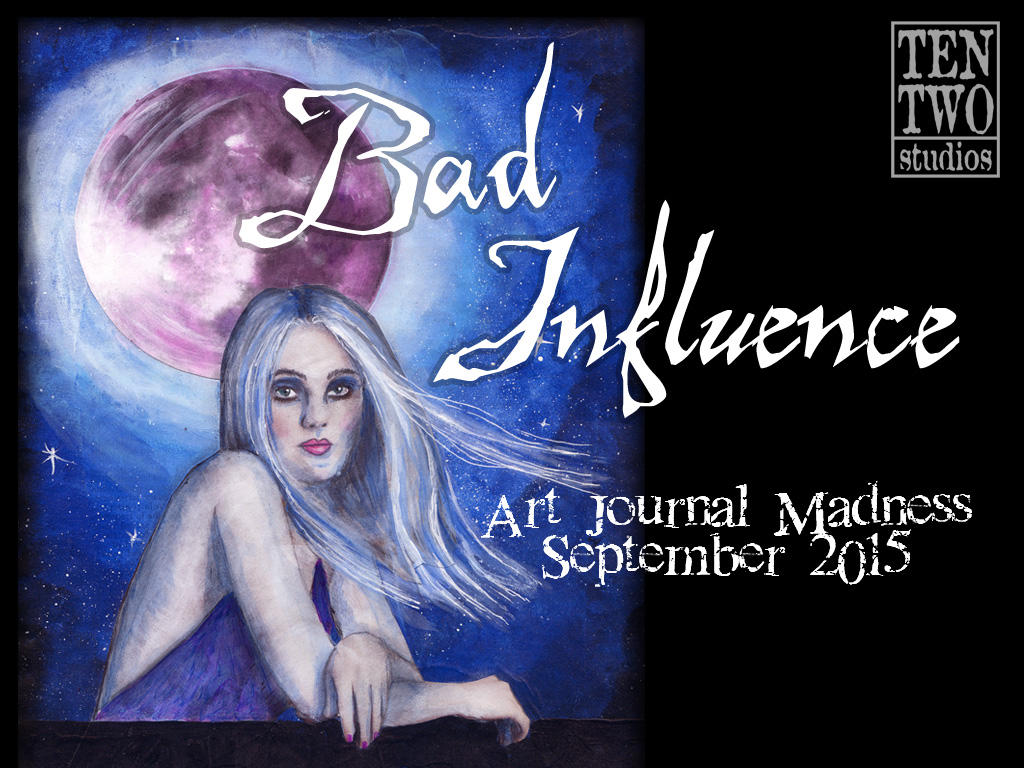
The Art Journal Madness issue is now in the works. See how you can join in the fun.